前言
家里热水器控制太麻烦,一直想通过diy接入homeassistant。经过长达半年学习,总是慢慢入门。今天花几个小时画原理图、pcb设计,顺利下单并且还是0元购。
正文
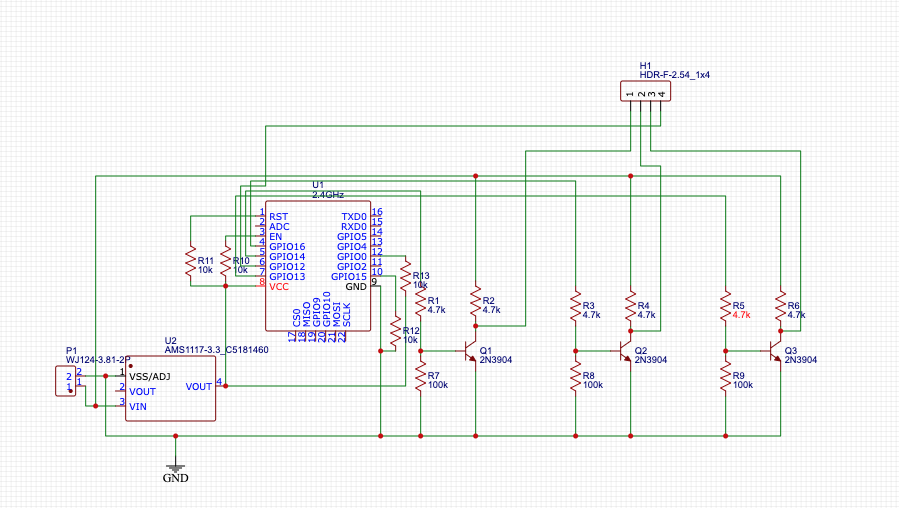
功能:利用开关三极管实现3.3v控制5v电路
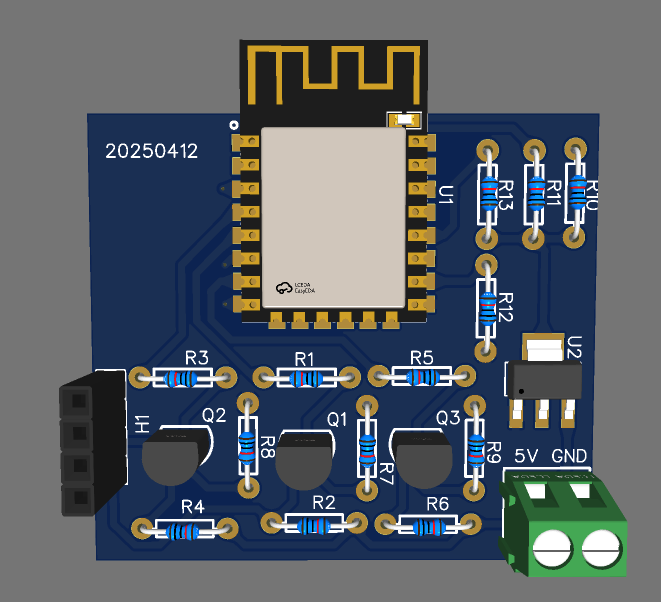
嘉立创渲染效果:
20250422更新
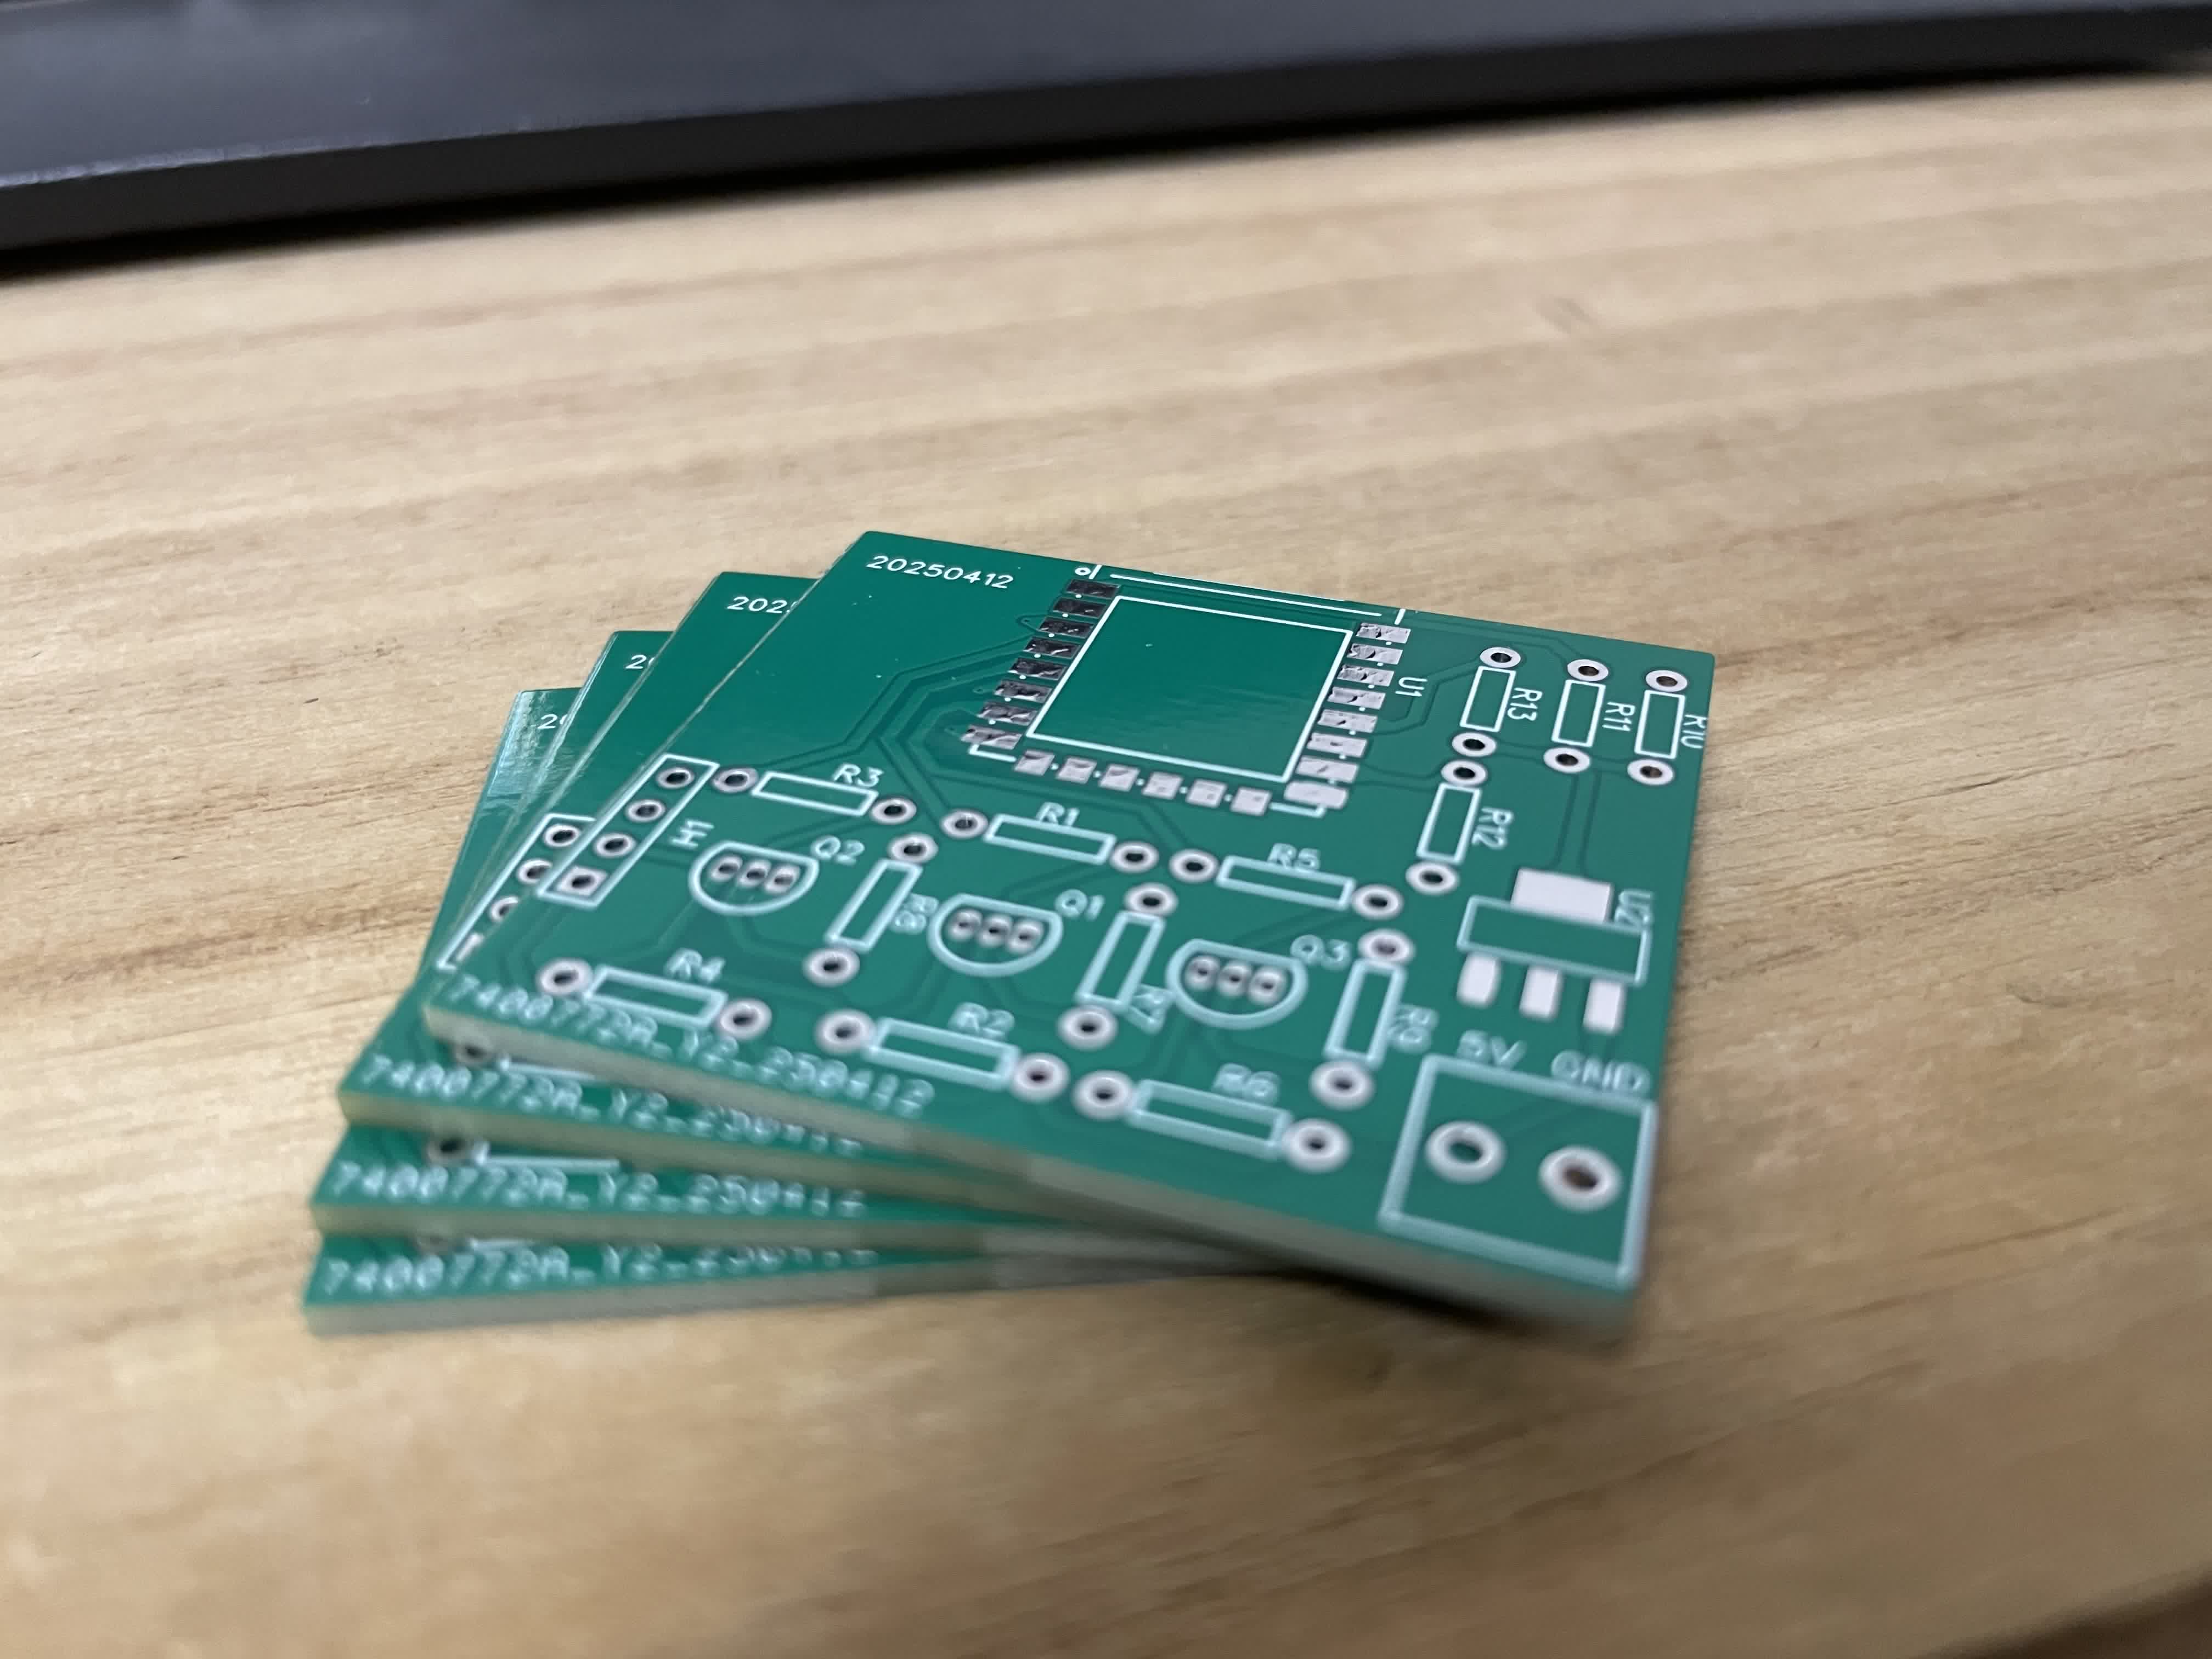
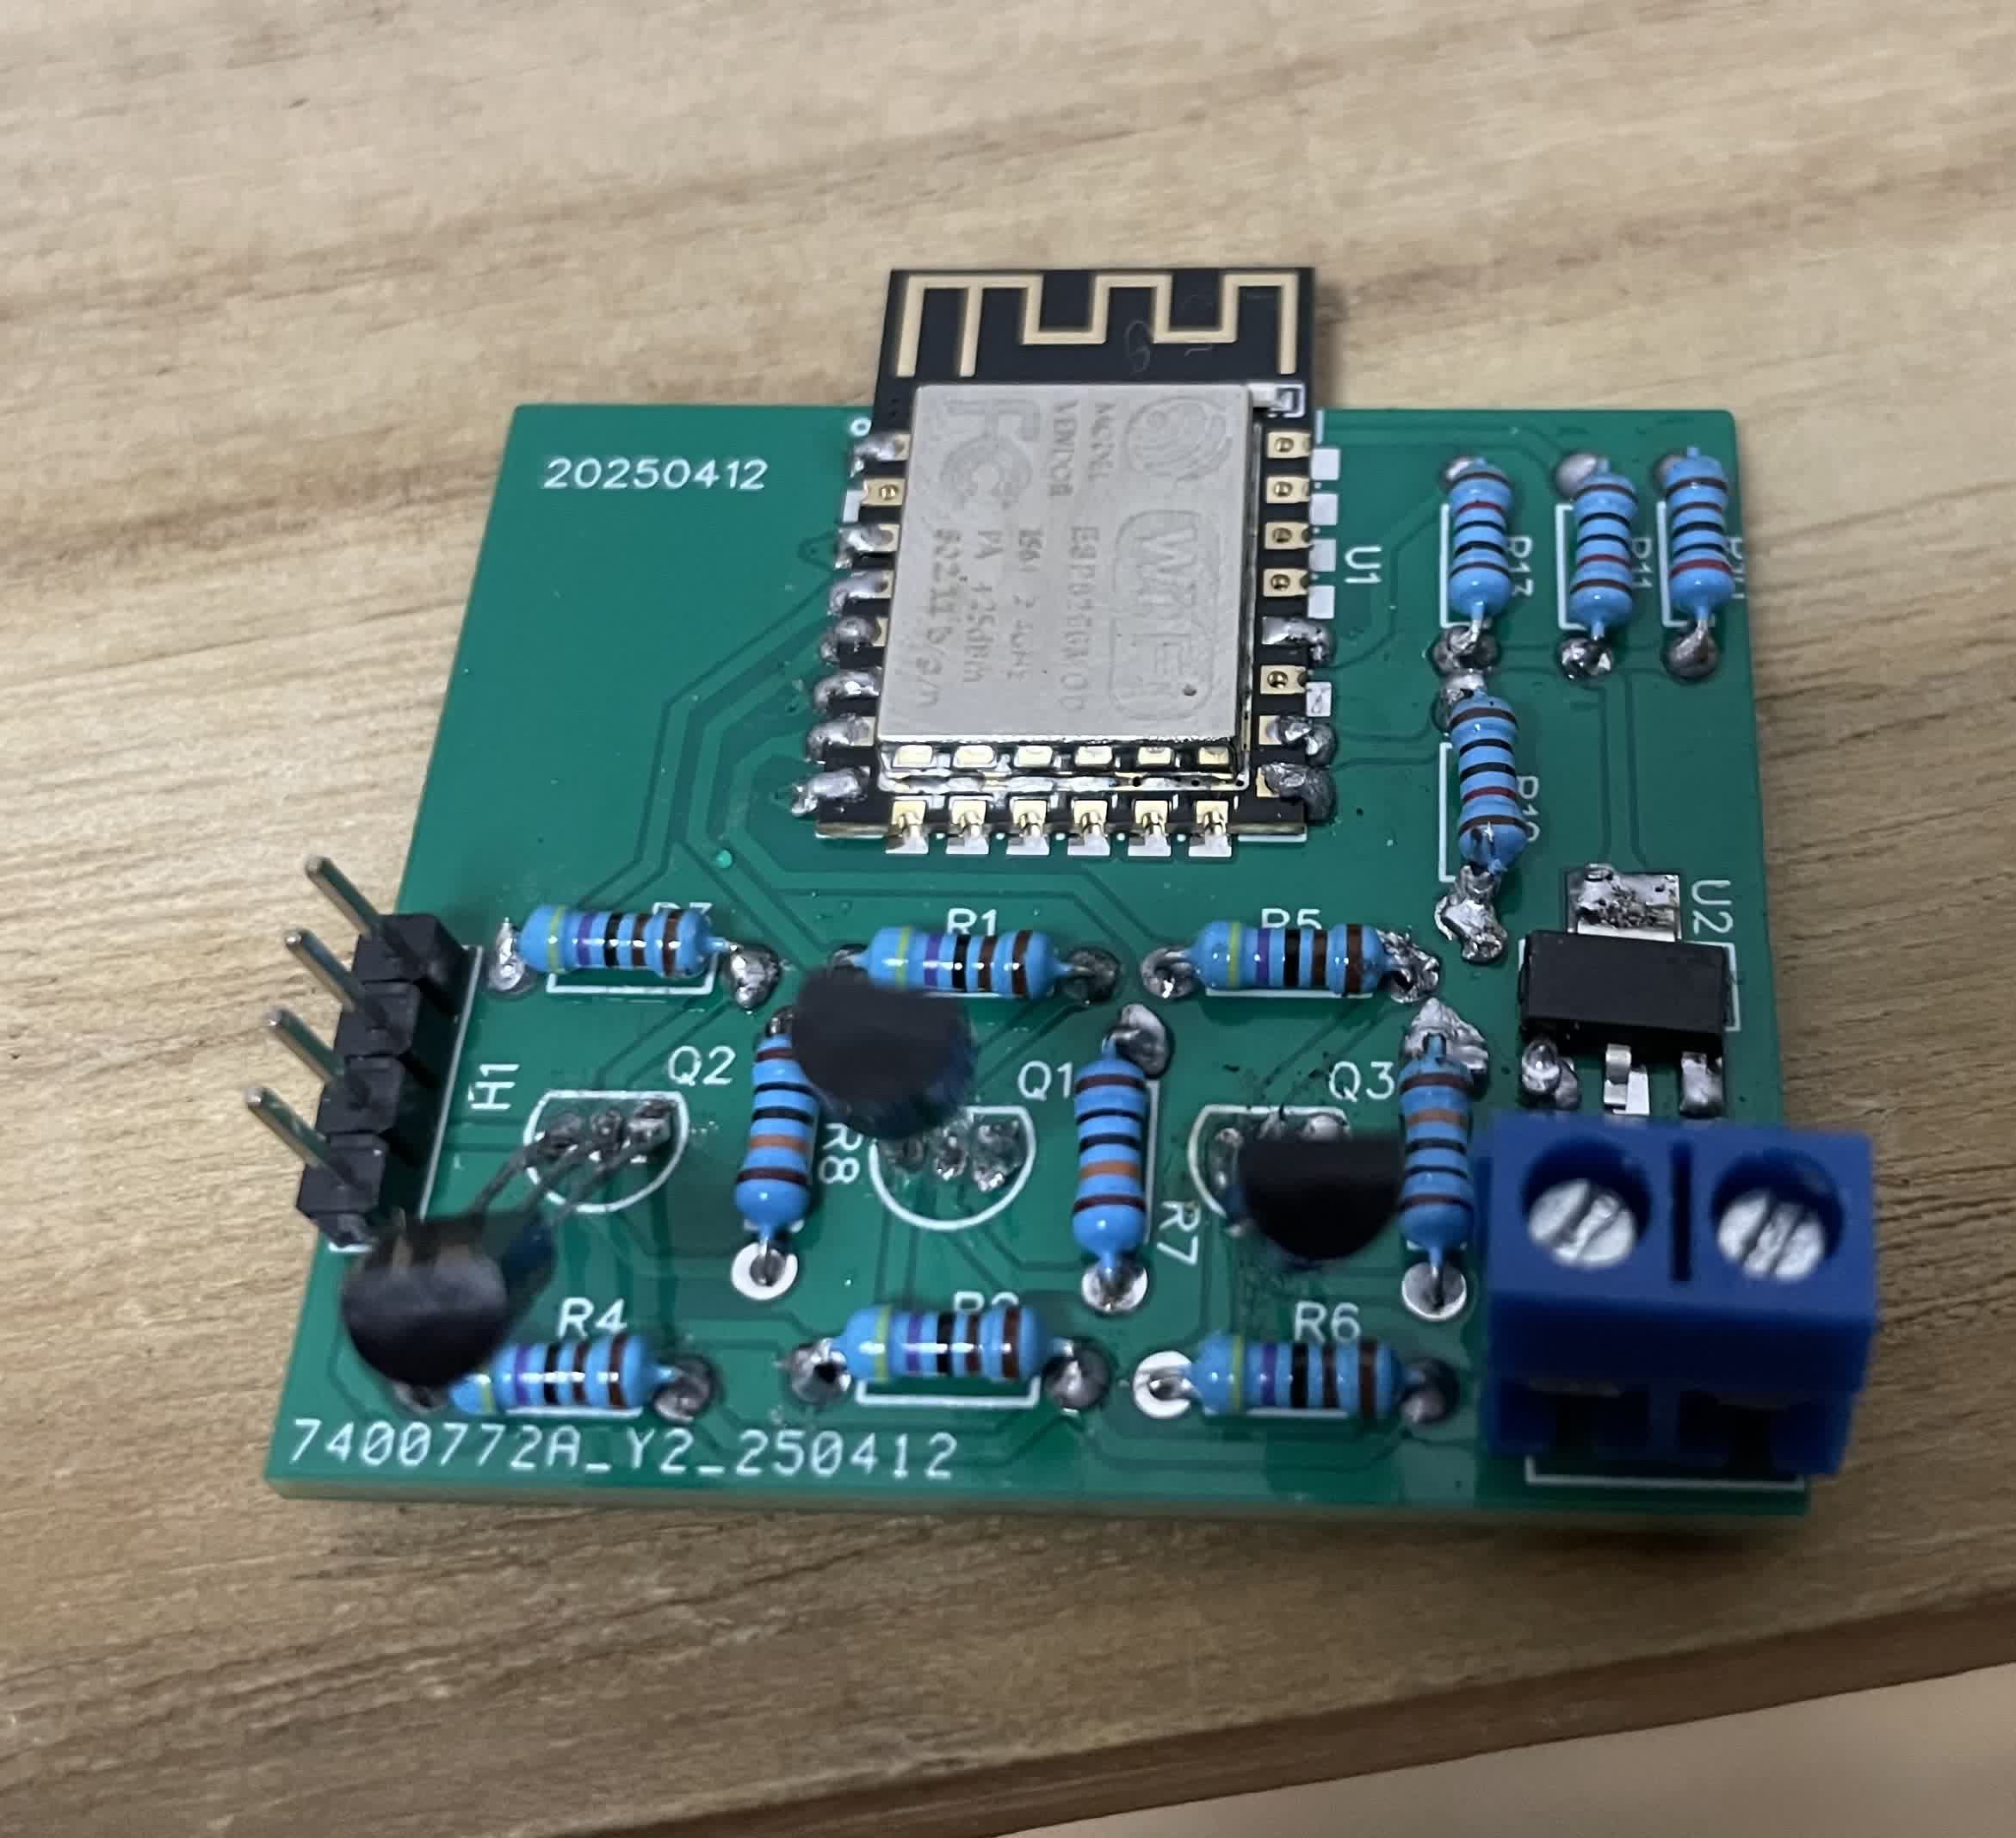
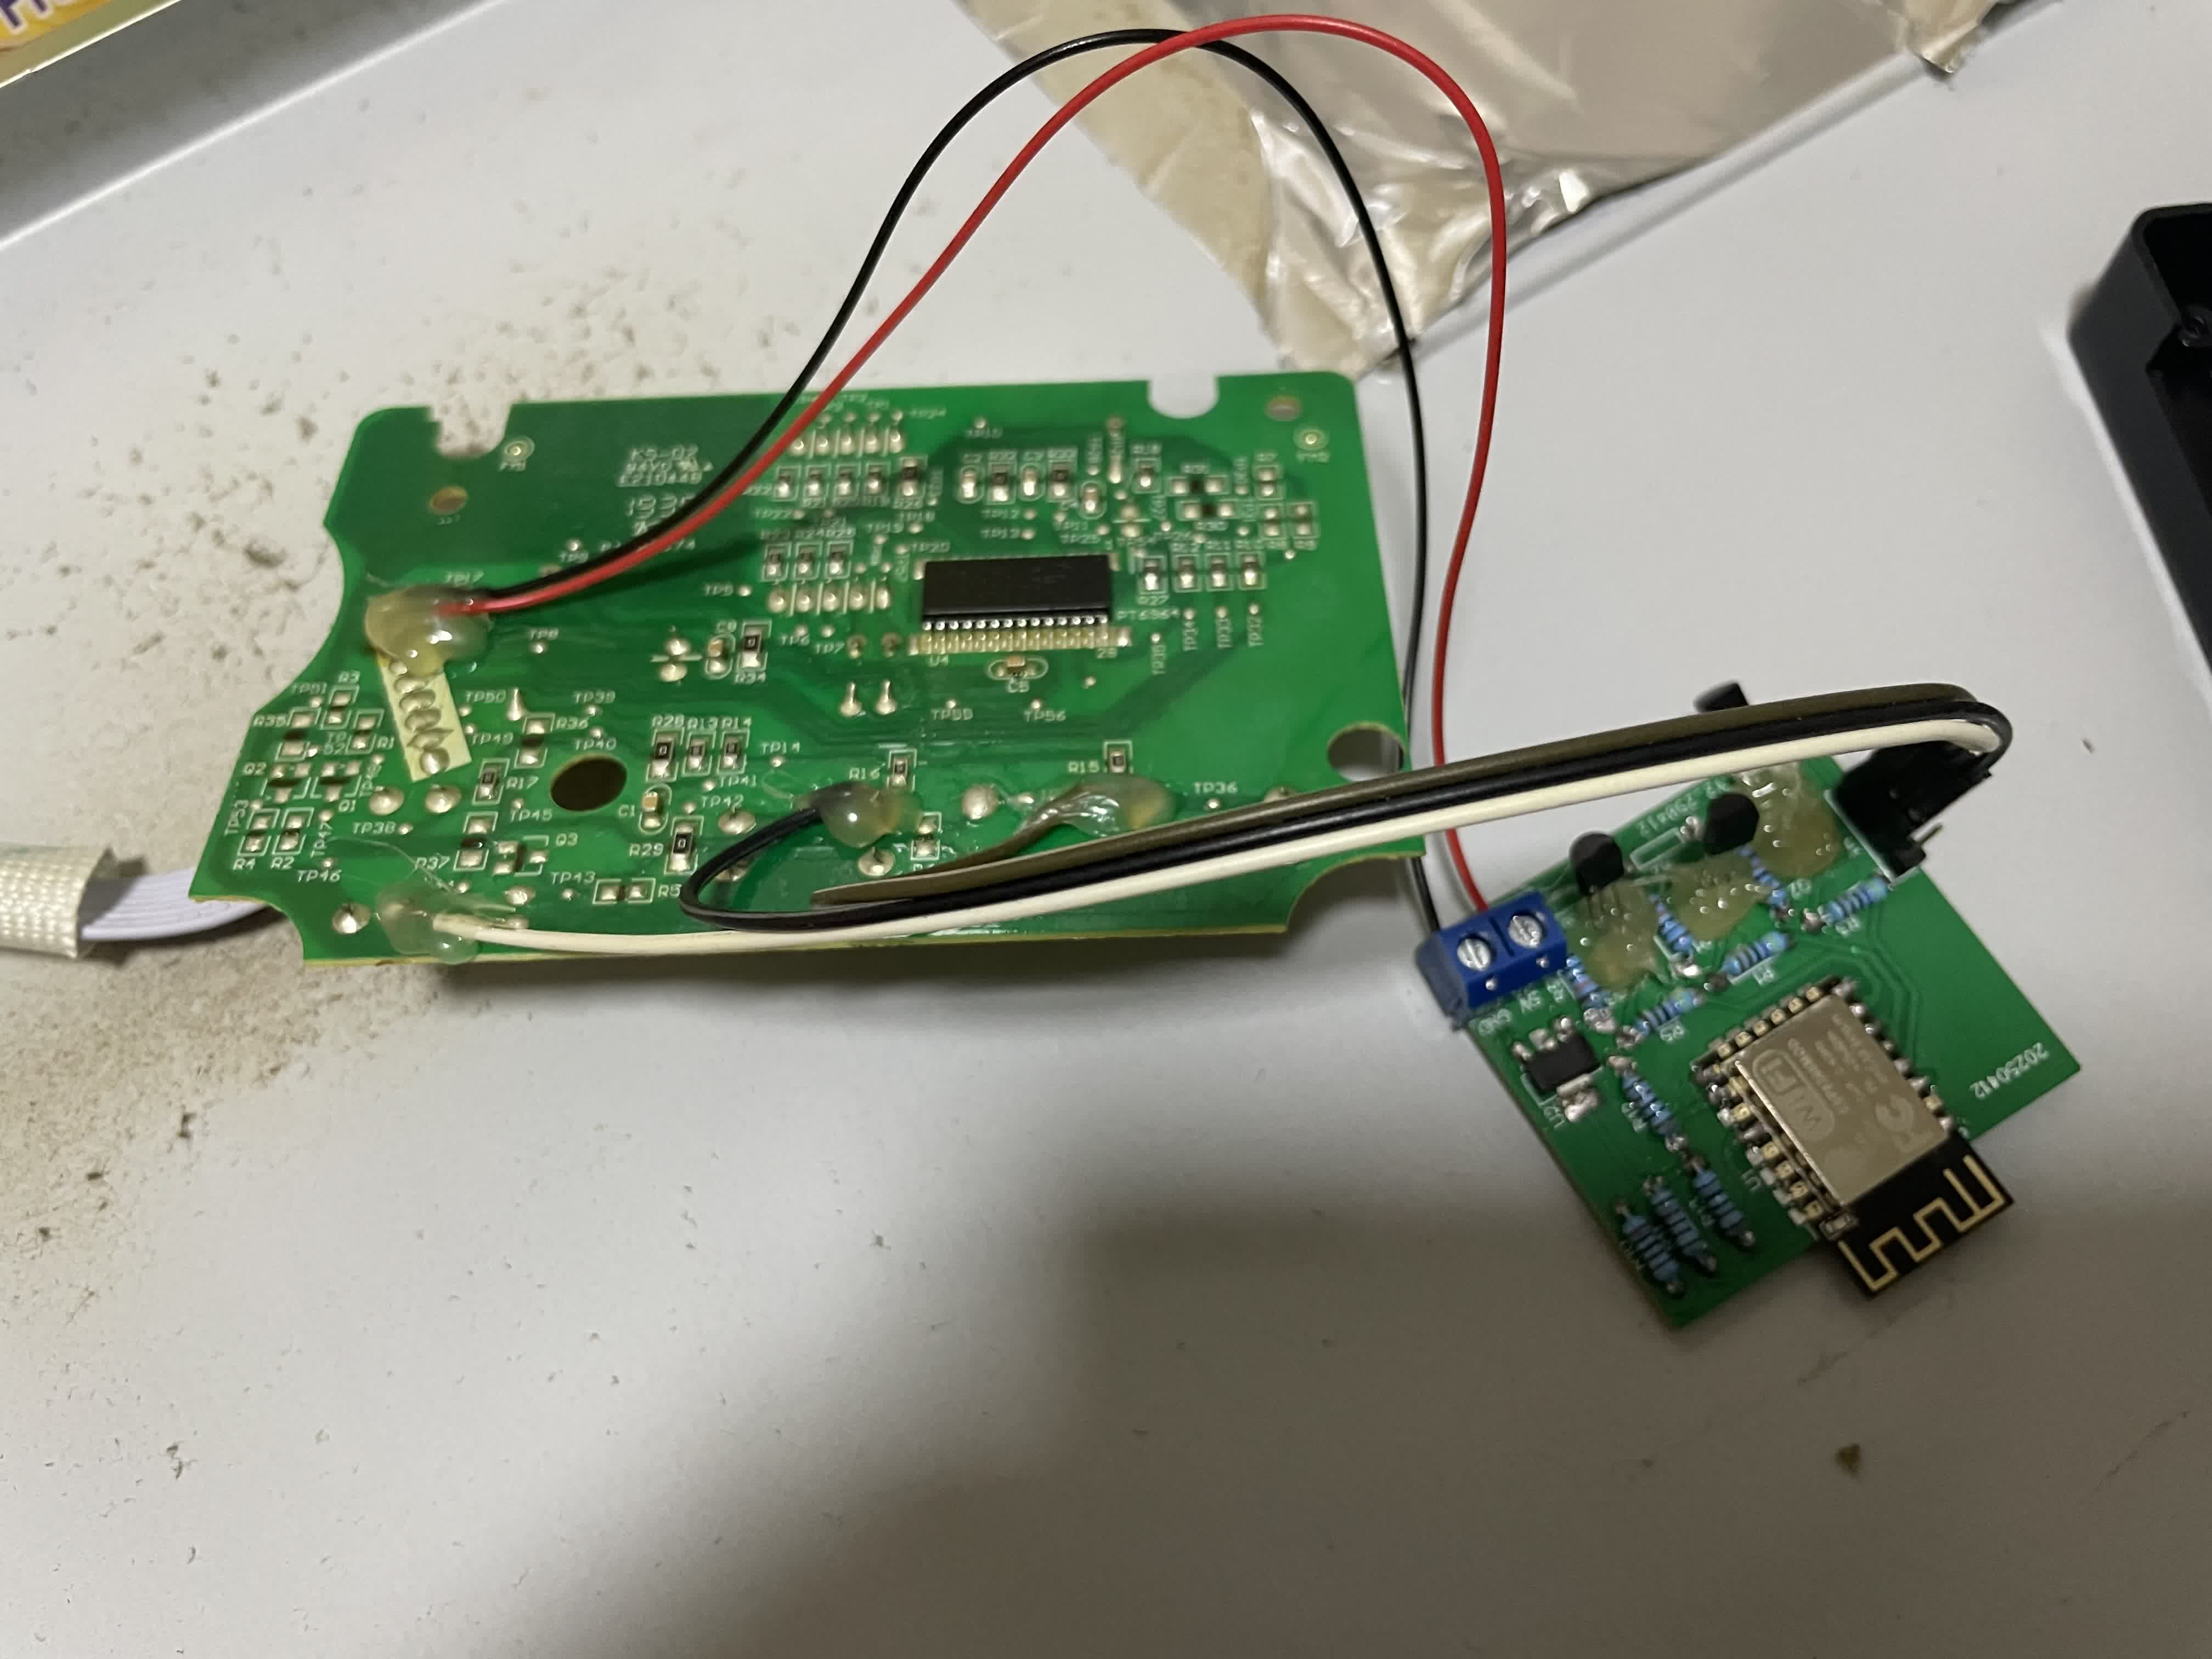
实物图
当拿到成品板子,又兴奋又有成就感。板子的质量非常棒,拿在手里感觉比我热水器的板子质量还高。另外就是原理图,1)经过测试得把R2、R4、R6摘除才能起作用。2)可能是因为没有加电容,偶尔手碰到会导致板子重启。至于为啥我…….对就是这样…….
系统
因为采用按钮模拟方式控制,所以无法读取到正确的热水器温度。所以采用程序计算的方式,当然如果物理按键上加减了温度,系统也无法识别。
globals:
  - id: my_global_int
    type: int
    restore_value: no
    initial_value: '35'

button:
  - platform: output
    name: "power Button"
    output: output1
    duration: 200ms
  - platform: output
    name: "Sub Button"
    output: output2
    duration: 200ms
    on_press:
      then:
        - lambda: |-
            if (id(my_global_int) > 50 ) {
              id(my_global_int) -= 5;
            }else if (id(my_global_int) > 35 && id(my_global_int) <= 50) {
              id(my_global_int) -= 1;
            }else {
            }
  - platform: output
    name: "Add Button"
    output: output3
    duration: 200ms
    on_press:
    then:
      - lambda: |-
          if (id(my_global_int) >= 50 && id(my_global_int) < 65) {
            id(my_global_int) += 5;
          }else if (id(my_global_int) < 50) {
            id(my_global_int) += 1;
          }else {
          }

output:
  - platform: gpio
    pin: 14
    id: output1
  - platform: gpio
    pin: 16
    id: output2
  - platform: gpio
    pin: 13
    id: output3

sensor:
  - platform: template
    name: "Template Sensor"
    unit_of_measurement: "°C"
    icon: "mdi:water-percent"
    device_class: "temperature"
    state_class: "measurement"
    lambda: |-
      return id(my_global_int);
    update_interval: 2s
总结
嘉立创还是牛,这么专业的软件做的如此简单。设计电路、pcb设计、打板一条龙服务。重点还是免费0元购。
参考
能率燃气热水器智能化改造
bilibili:小白入门-如何使用立创EDA设计一个简单的PCB
bilibili:三极管开关电路限流电阻怎么选取